
Watch: Introduction to Events
Attend an Event
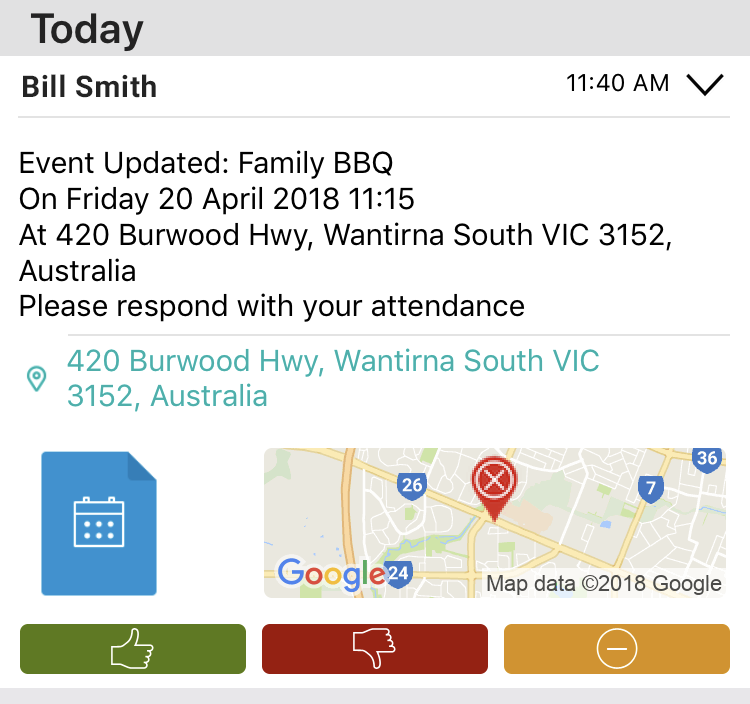
How to spot an event
Events are displayed within your regular broadcast feed. They look similar to other notifications and incidents, however they can be distinguished by a blue event icon:
How to view the event details
Before responding to an event, you'll probably want to check out the details.
To view the details of the event, tap on the blue event icon:
![]()
You'll see all the details relating to that event:
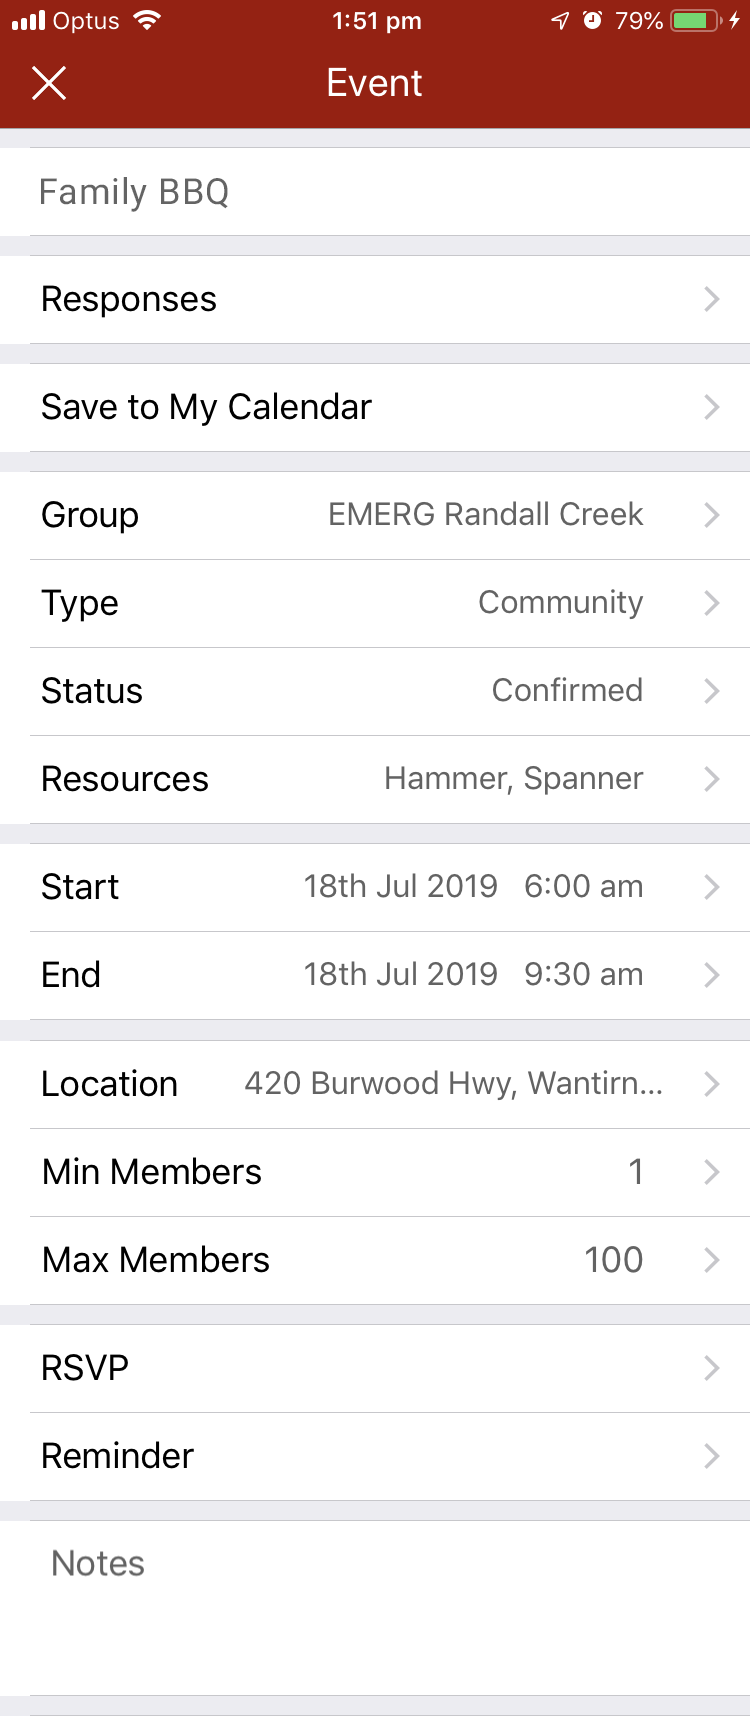
If you have the required permissions, you will have the ability to edit the event from the screen above.
Respond to the event
You respond to events in the same way that you do other broadcasts - by selecting from:

Attending - Not Attending - Other
Add the Event to your personal calendar
To add an event to your personal default calendar:
1. Tap on the blue event icon to open up the details screen
2. Tap on the option 'Save to my Calendar'
3. A notification will popup ‘BART Would Like to Access Your Calendar – Can we save events to your calendar?’
4. Tap on 'OK'
Respond for other members of your group
If you're an administrator, you have the ability to set the response to an event for other members of your group.
1. Navigate to the BART Members WebApp
2. Select 'Events' from the main menu
3. Click on the event that you would like to view- a dialogue box will appear, showing the details of the event
4. Click on the 'Attendance' tab up the top of the dialogue box
5. Click on a member, and you will see the 3 standard response options:
- Attend
- Decline
- Other
6. Select one of the options above, and you will see that member's attendance status change
Please note: you have to have administrator privileges to set a response for another member of your group
Create a New Event
New events can be created through both the BART Team App, and the Members WebApp.
Please note: To create a new event, you must be a BART Administrator or have authorisation from your administrator.
BART Team App
To view or create an event, tap on the ‘Events’ item in the bottom quick-menu.
You will see a calendar view, which will highlight any days where there is an event. You will also see a number, which tells you how many events have been added for that specific day.
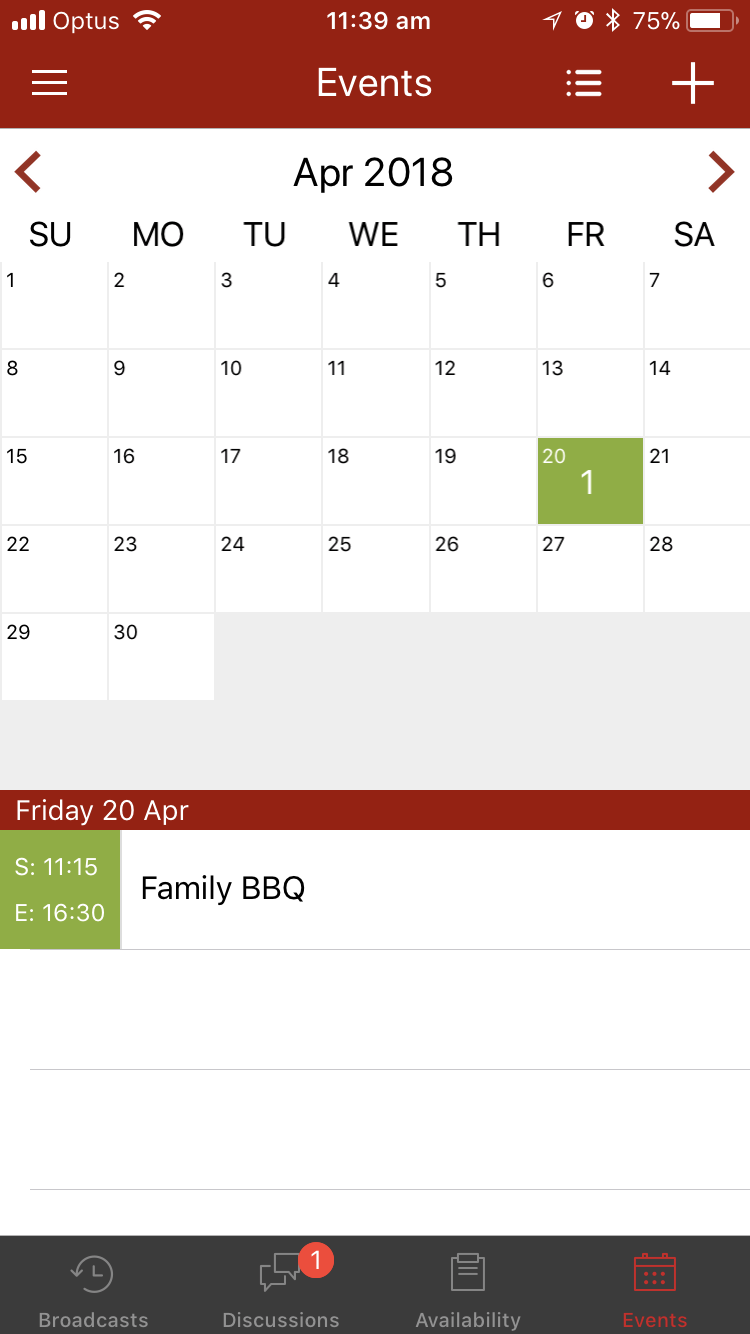
You will also see down below the calendar, a list view of events that have been created. If you have a long list of events, you can choose to display only the list view by tapping on the list icon at the top of the screen.
To Create a new Event
1. Tap on the plus icon (+) in the top right-hand corner of the screen
![]()
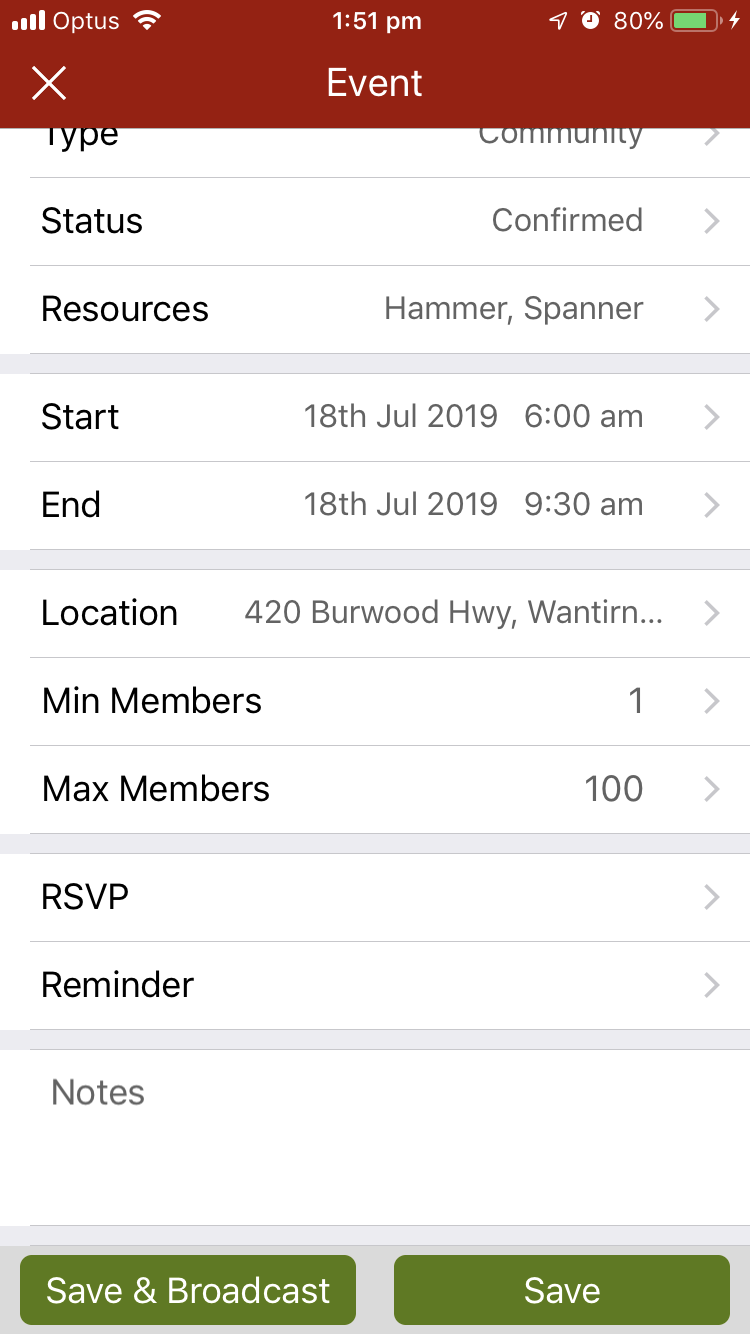
2. Give your event a name
3. Select the type of event from the list provided
4. Select a status for the event:
- Tentative
- Confirmed
- Postponed
- Cancelled
Please note: Events will only be broadcast if the status is set to ‘Confirmed’
5. Select any resources required for the event (optional)
6. Choose the time and date for your start and end times
7. Set a location for your event
8. Set the minimum and maximum number of members (optional)
9. Set the time and date that members must RSVP by (optional)
10. If you would like to send out a reminder, set the time and date (optional)
11. Enter in any additional notes for the event (optional)
12. Tap on ‘Save & Broadcast’ or 'Save' (you can choose whether to broadcast the event or not)
Members WebApp
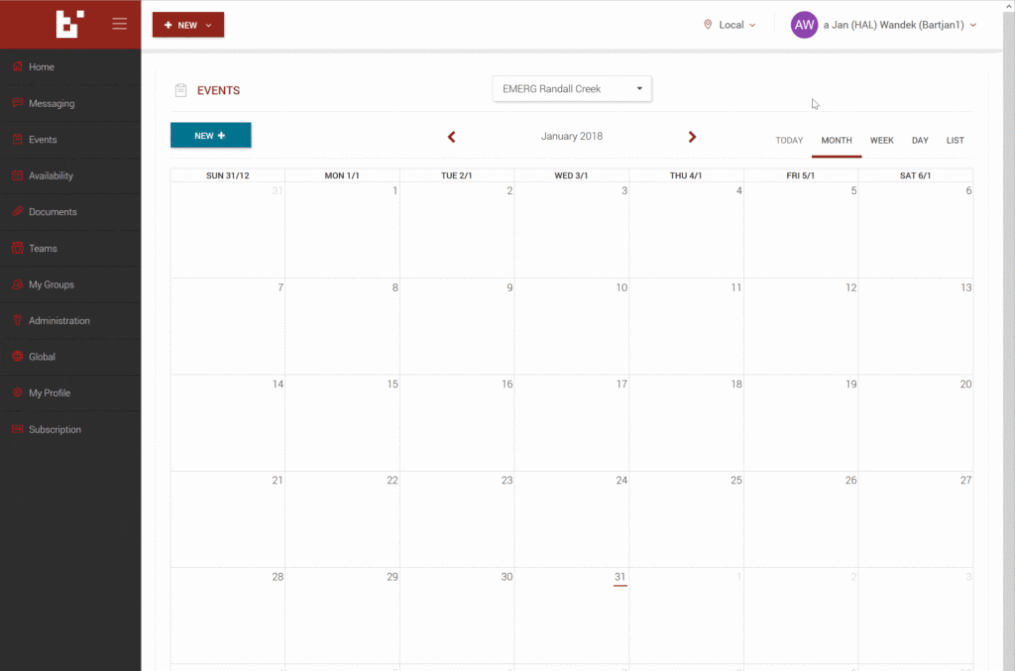
1. Navigate to the ‘Events’ item in the main menu
2. Choose a group from the drop-down list or select ‘all groups’
3. Press the blue ‘NEW’ button
4. A modal dialogue box will appear
5. Enter a name for your event
6. Choose the type of event (ie. Administration, meeting, fund raising etc.)
7. Choose the current status for your event:
- Tentative
- Confirmed
- Postponed
- Cancelled
8. Enter in a location for your event
9. If there’s a minimum or maximum number of members required, fill out the ‘Members Required’ fields
10. Choose whether members are required to RSVP or not
11. Choose whether your members will receive a reminder or not
12. Enter in any additional notes
13. Choose between the green buttons ‘Create and broadcast’ or ‘Create’