...
- Navigate to the ‘Administration’ item in the main menu

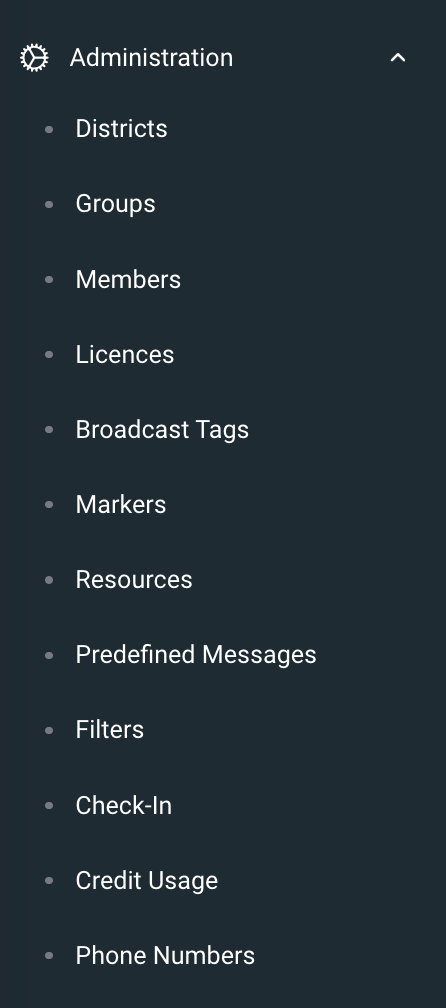
- Select ‘Groups’ from the sub-menu
- Choose a group from the list provided - a popup dialogue box will appear
- Navigate to the ‘Broadcast Tags’ tab
- You can either select ‘ADD’ to add an existing broadcast tag to your group, or select ‘NEW’ to create a new broadcast tag
- Enter the ‘Tag’ code – Short code 8 characters or less (this code MUST be unique. If the code is already in use within BART, the new broadcast tag will not be created)
- Name the broadcast tag
- Send code
- Phone number
- Environment
- Messaging – turn on
- The following options should only be modified by more advanced members:
- Any Sender
- Heartbeat
- X Origin
- Y Origin
- Zone
- X Origin 2
- Y Origin 2
- Zone 2
...
- Navigate to the ‘Administration’ item in the main menu, and navigate to ‘Members’
- Select a member that you would like to allocate the broadcast tag to
- A popup dialogue box will appear
- Navigate to the ‘Broadcast Tags’ tab at the top of the popup box – you will see a list of all the broadcast tags available for your group

- Use the ‘ON’ / ‘OFF’ toggles to choose the broadcast tags your member can view and send from

- You can also select whether your member will receive the broadcast via:

- SMS (the broadcast tag must have a phone number associated)
- Push notification
- For each of the options above, you can select when your member will receive the broadcast:

- None
- Non-alerts only
- Alerts only
- All
...