/
Create & Allocate Broadcast Tags
Create & Allocate Broadcast Tags
- Catherine Randall
Owned by Catherine Randall
Broadcast tags are generally created and allocated for your group during the signup approval process. If you need additional tags however, please follow the instructions below.

Watch: Manage Broadcast Tags for your Group
There are two steps to creating and allocating a broadcast tag:
- Create a new broadcast tag, or add an existing one to your group
- Choose the members who can send and receive notifications from your new broadcast tag
Step 01
Create a new broadcast tag
- Navigate to the ‘Administration’ item in the main menu

- Select ‘Groups’ from the sub-menu
- Choose a group from the list provided - a popup dialogue box will appear
- Navigate to the ‘Broadcast Tags’ tab
- You can either select ‘ADD’ to add an existing broadcast tag to your group, or select ‘NEW’ to create a new broadcast tag
- Enter the ‘Tag’ code – Short code 8 characters or less (this code MUST be unique. If the code is already in use within BART, the new broadcast tag will not be created)
- Name the broadcast tag
- Send code
- Phone number
- Environment
- Messaging – turn on
- The following options should only be modified by more advanced members:
- Any Sender
- Heartbeat
- X Origin
- Y Origin
- Zone
- X Origin 2
- Y Origin 2
- Zone 2
Step 02
Choose which members CAN SEND AND receive messages on your new broadcast tag
- Navigate to the ‘Administration’ item in the main menu, and navigate to ‘Members’
- Select a member that you would like to allocate the broadcast tag to
- A popup dialogue box will appear
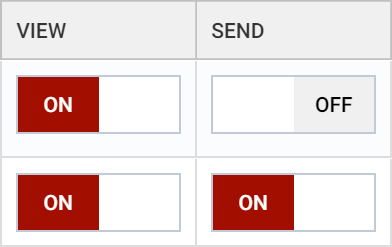
- Navigate to the ‘Broadcast Tags’ tab at the top of the popup box – you will see a list of all the broadcast tags available for your group
- Use the ‘ON’ / ‘OFF’ toggles to choose the broadcast tags your member can view and send from
- You can also select whether your member will receive the broadcast via:
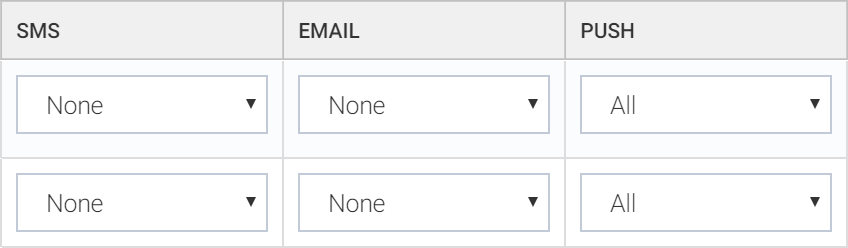
- SMS (the broadcast tag must have a phone number associated)
- Push notification
- For each of the options above, you can select when your member will receive the broadcast:
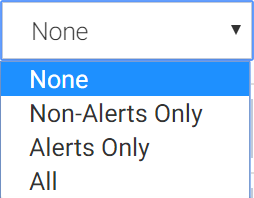
- None
- Non-alerts only
- Alerts only
- All
, multiple selections available,
Related content
Administrator Tasks
Administrator Tasks
Read with this
Receive SMS Notifications
Receive SMS Notifications
More like this
Members Web App Overview
Members Web App Overview
Read with this
Send via Email
Send via Email
More like this
Membership Types
Membership Types
Read with this
Setup a member with SMS
Setup a member with SMS
More like this