...
Tap on ‘Availability’ in the main bottom menu


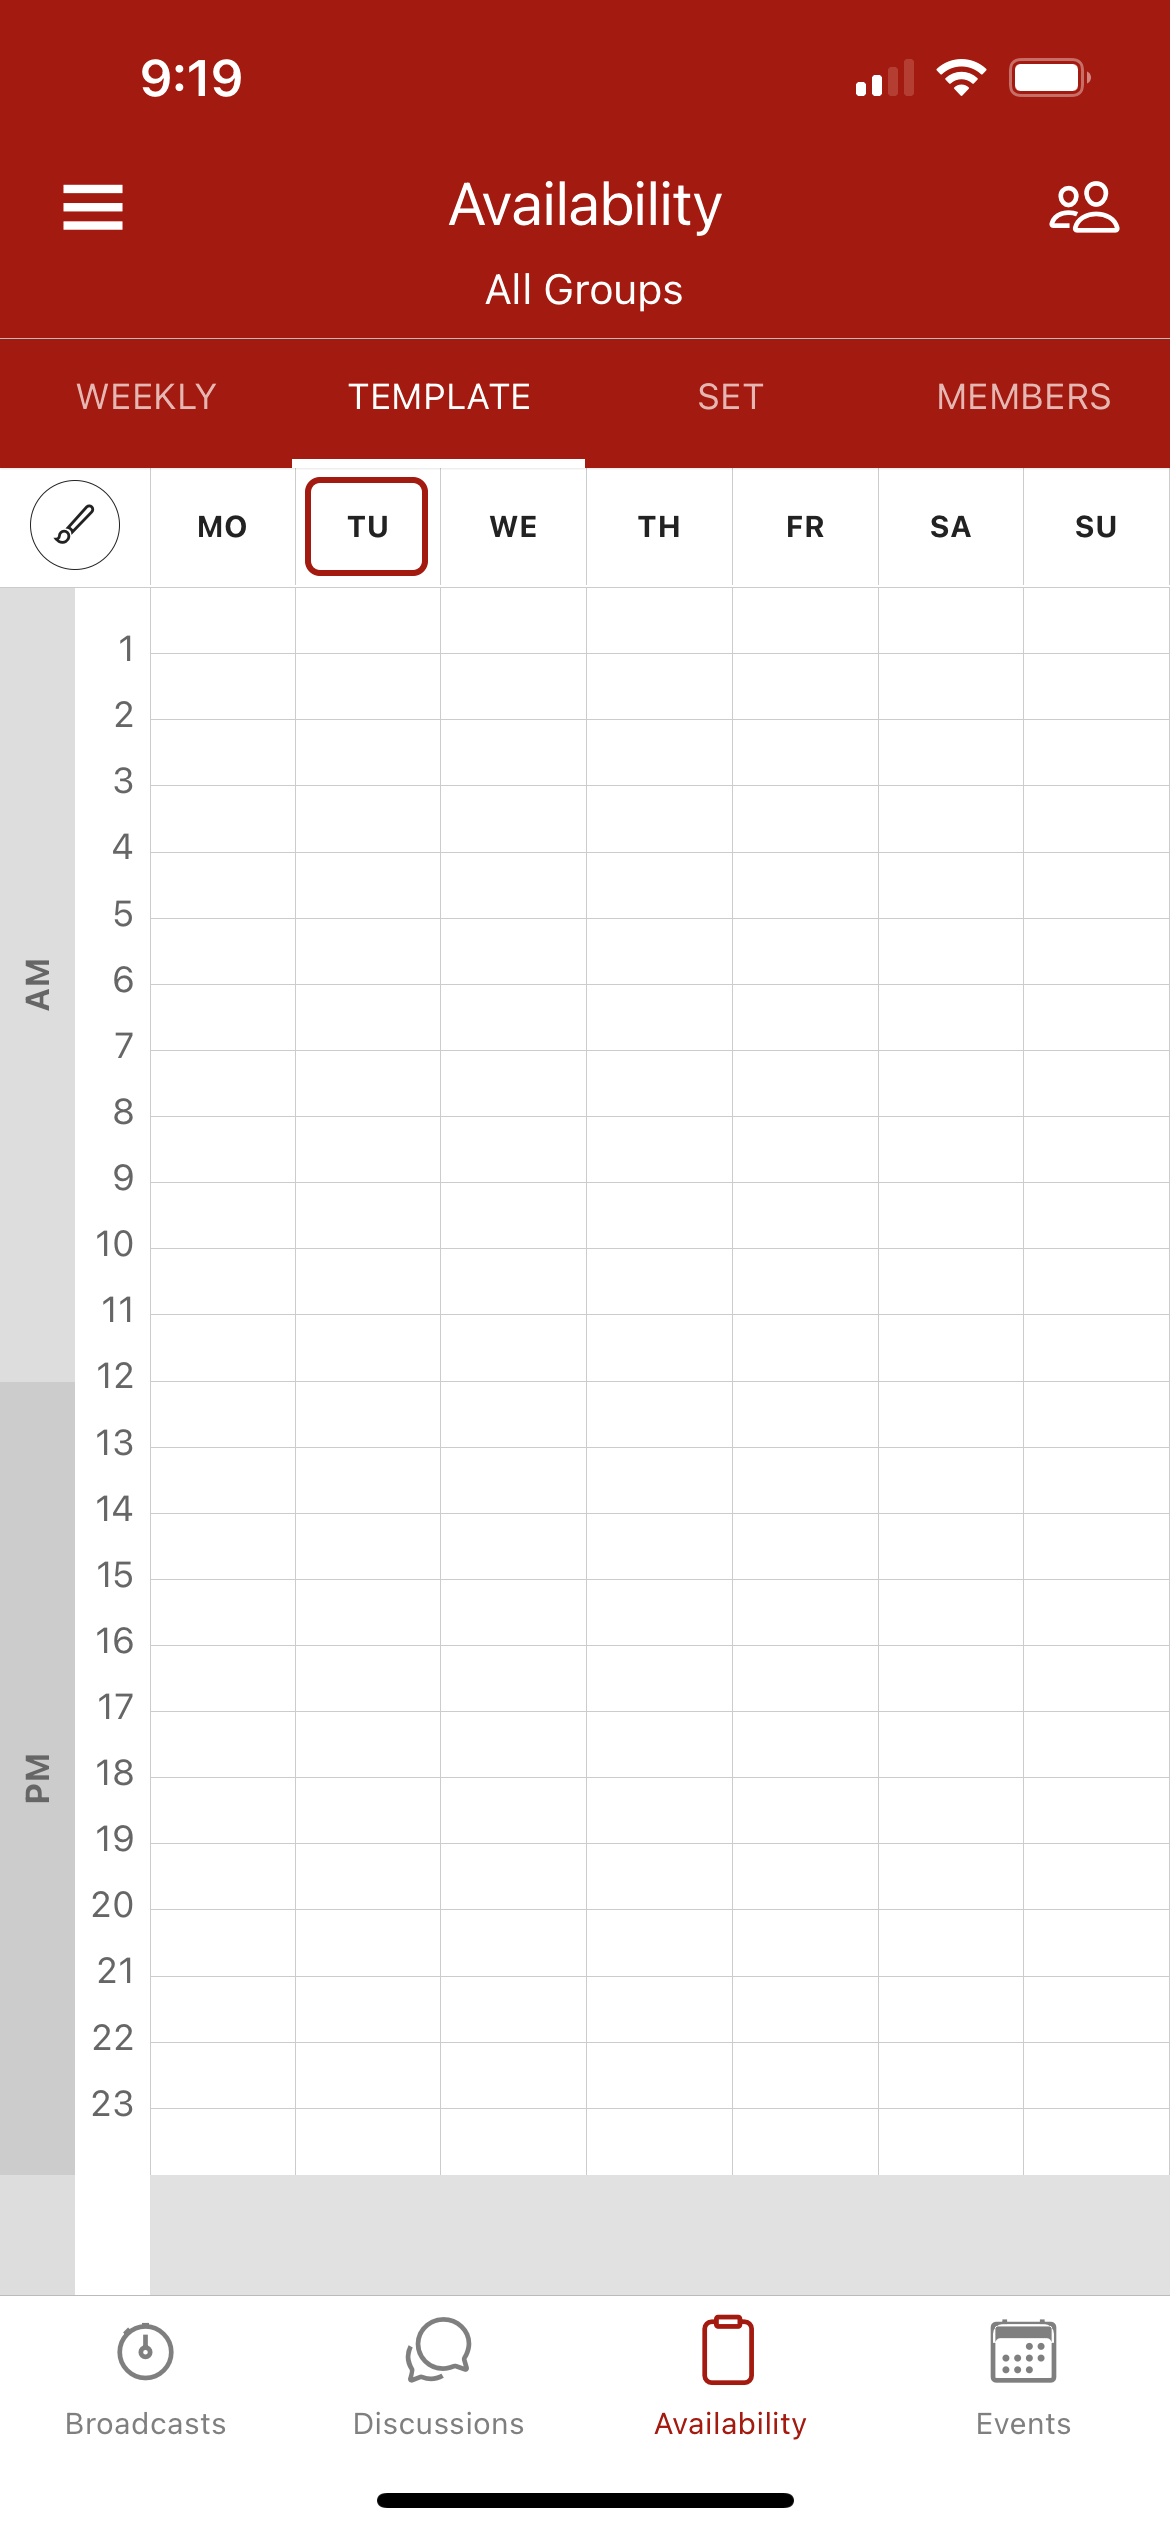
The ‘Weekly’ tab will be open by default – tap on the ‘Template’ tab

You’ll notice that specific dates will no longer appear in the interface, where you will only see the 7 days of the week (MON through SUN)
You can start tapping on cells and cycling through the different status options
You can also tap on the paintbrush icon in the top left-hand corner of the grid to select a specific status

Once you have set your chosen weekly schedule, tap on the ‘Save’ button at the top of the grid
You’ll notice that if you tap back over to the ‘Weekly’ tab, that the status cells that you set in your template will display in a lighter shade
This has been setup so that you can see the difference between your template status cells, and your manual ‘Weekly’ cells, allowing you to override the template where required